How to Photograph the Moon?
Watching the Moon is always a fascinating sight. Photographing it is about capturing that spectacle. Yet, many quickly discover that shooting the Moon isn’t as easy as it seems…
Here’s a simple guide to help you succeed with your lunar shots.
What Gear Do You Need to Photograph the Moon?
Camera or Smartphone
To get detailed images, aim for a lens of at least 200mm. The longer the focal length, the closer and sharper the Moon will look.
👉 Quick tip: A telephoto lens of 300–500mm is your best friend. It’ll give you shots where the Moon looks much larger.
👉 To introduce your kids to astronomy and start gently, we’ve put together a guide to accessible telescope models for children.
A Must-Have: The Tripod
A tripod helps avoid blur, especially with longer focal lengths. If you don’t have a remote shutter, simply use the self-timer set to 5 or 10 seconds max. This way you’ll reduce vibrations, avoid camera shake, and keep your shots sharp.
Best Camera Settings for Moon Photography
The Moon is very bright (it reflects sunlight), so forget about long exposure.
✅ Here are the basic settings:
- Aperture: f/5.6 to f/8 → for sharpness
- ISO: 100–200 → to limit noise
- Shutter speed: 1/125 to 1/250 → prevents blur from the Moon’s motion
- Focus: manual mode set to “infinity” or autofocus in spot metering
💡 Tip (for smartphones): Press and hold on the Moon to lock focus, manually lower the exposure, and keep your phone steady. This way, you’ll avoid ending up with a plain white blob instead of lunar details.
Common Mistakes to Avoid
- Underexposure → Moon looks gray and flat
- Overexposure → Loss of crater details
- Camera shake → Blurry image from poor stability
👉 For young beginners in astronomy, a planetarium projector is a fun way to reproduce the Moon and stars at home while learning.
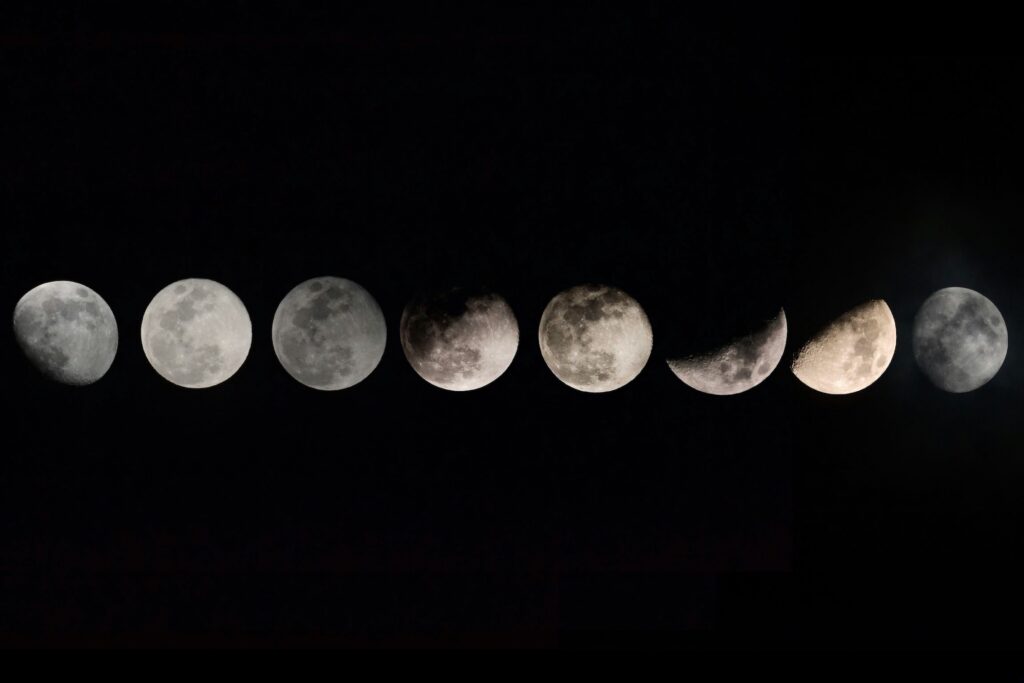
When to Photograph the Moon?
- Full Moon → spectacular, but often too bright
- First or last quarter → better shadows, more visible relief
- Blue hour → when the sky is still lightly blue, offering the best contrast
Bonus Tip: Post-Processing ✨
A little editing goes a long way to enhance details.
⚠️ Just don’t overdo it—keep the Moon looking natural.
Clarity and contrast
- Slightly increase Clarity/Texture (+5 to +15)
- Lower Highlights (-10 to -30) to bring out crater details in bright areas
Colors and noise under control
- Shift the white balance slightly cooler if the sky looks too yellow, to restore a more natural blue
- Apply moderate noise reduction (low to medium values) to keep lunar details while smoothing the sky
Conclusion
Learning how to photograph the Moon doesn’t always require expensive gear.
With a decent lens—or even a smartphone set up properly—plus stability and a bit of trial and error, you can capture amazing lunar shots.
It’s also a fantastic way for kids and adults to discover astrophotography!
🌙 The golden rule: experiment, because every night brings unique conditions.